What Does Mobile Application Development Entail? Find Out!
The journey of creating a mobile application is intricate and involves several key processes that ensure the final product meets user expectations and business goals. Understanding these processes is crucial for anyone interested in what mobile application development entails.
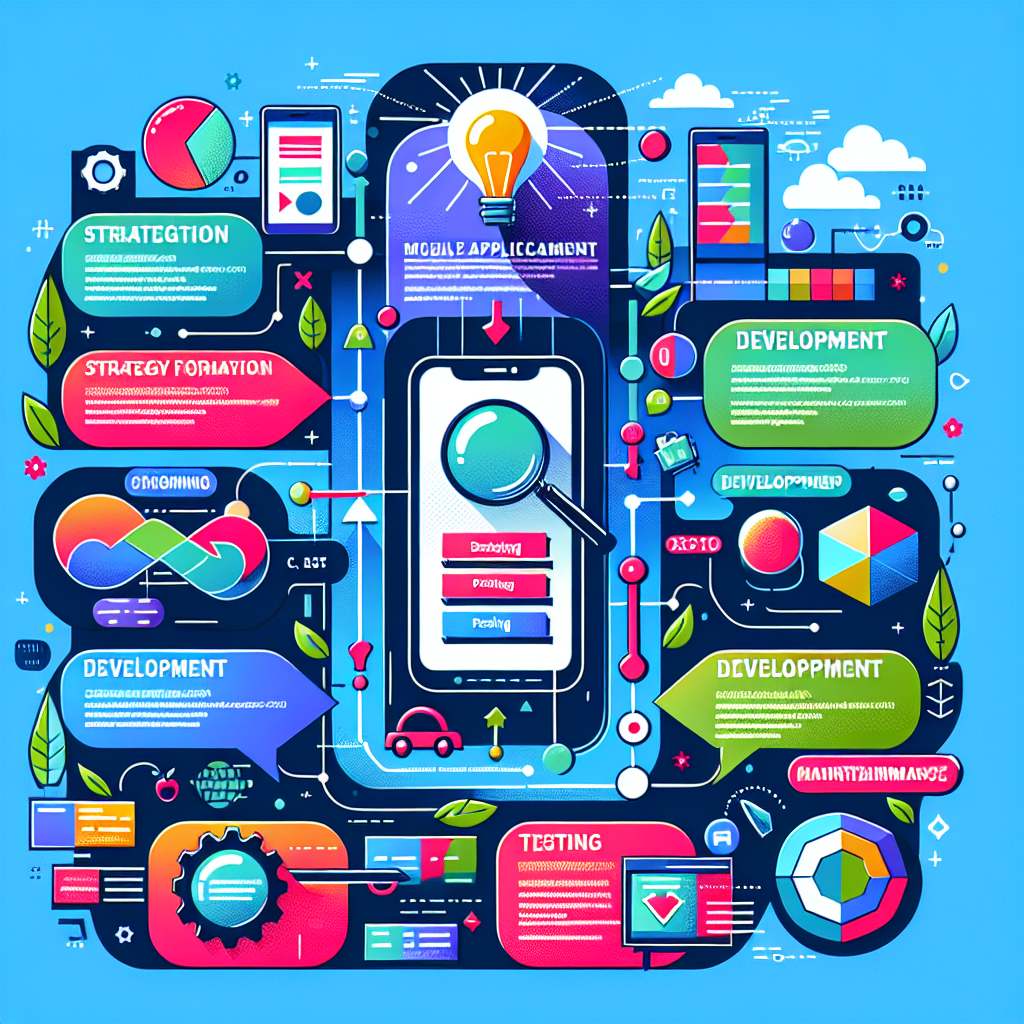
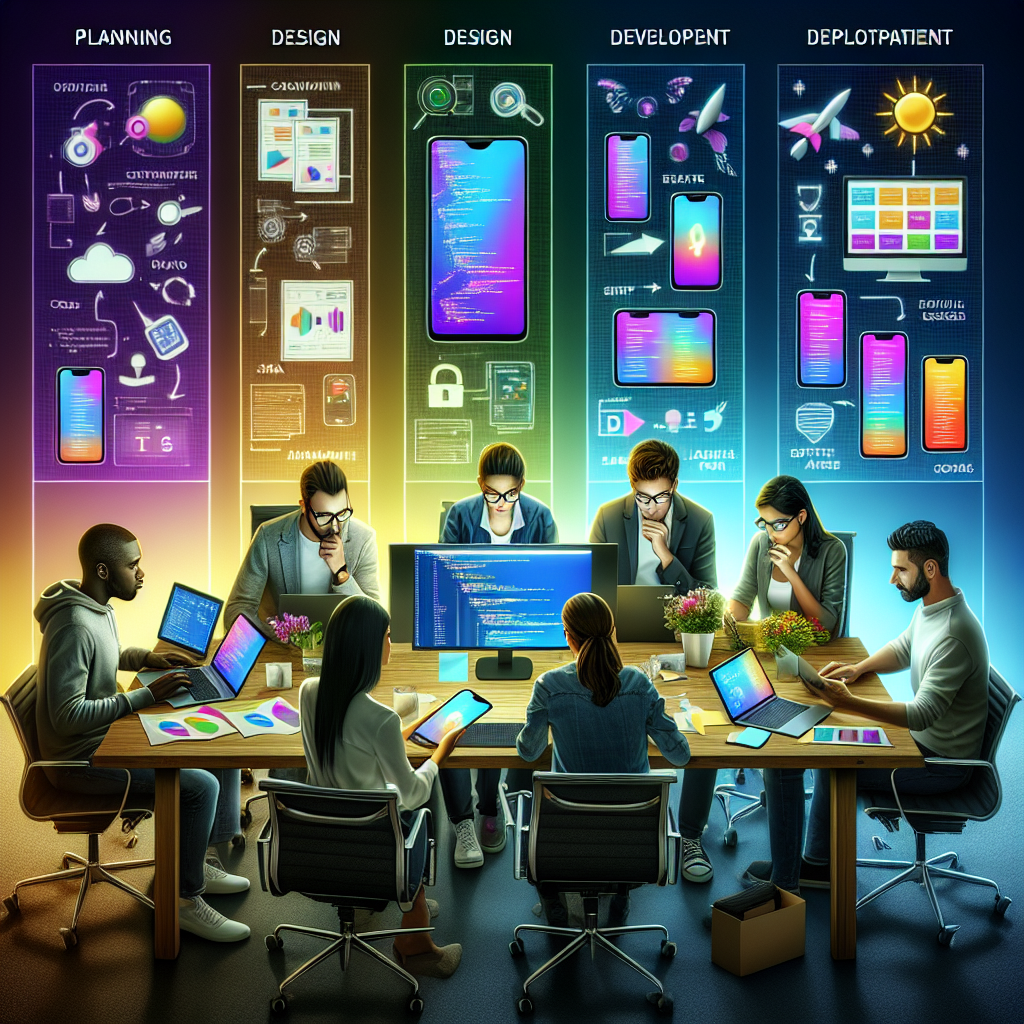
At the core of mobile app development are the following stages:
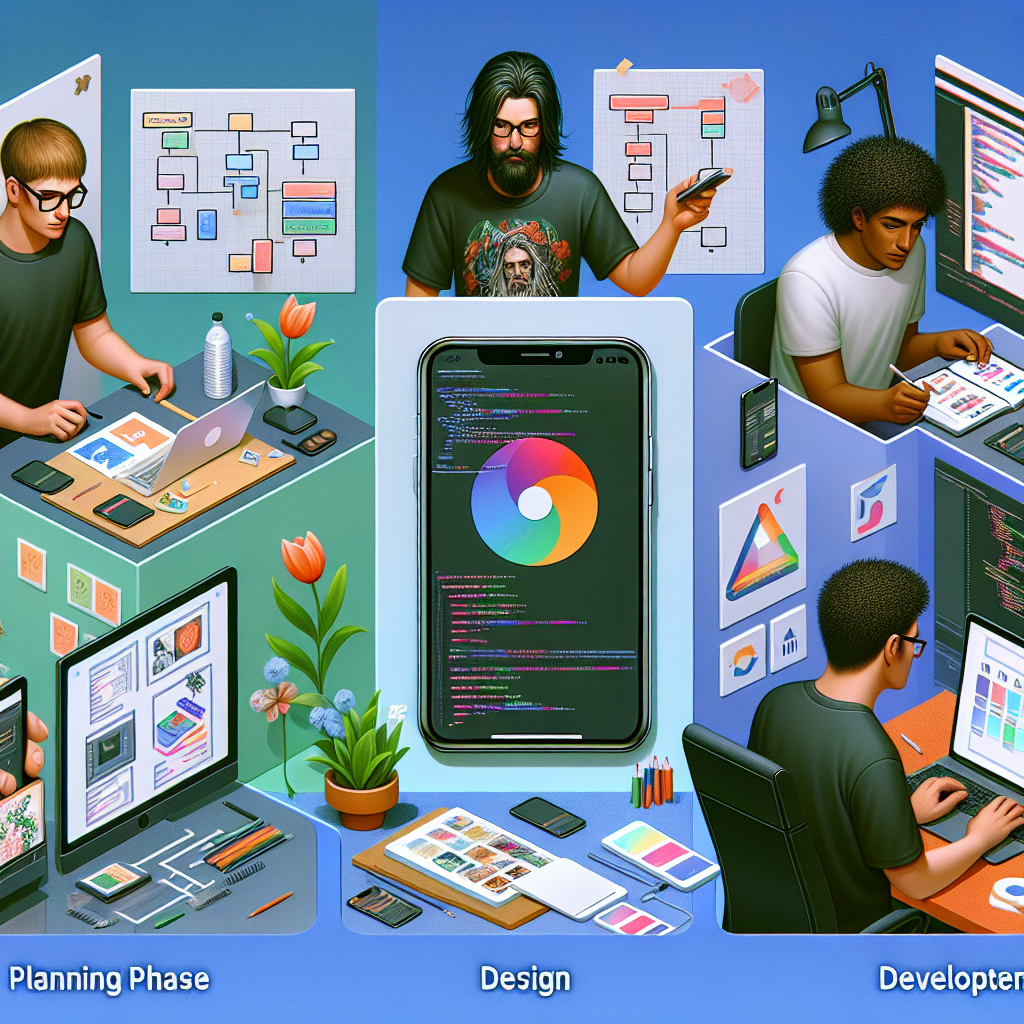
- Planning and Research: This initial phase involves identifying the target audience, conducting market research, and defining the app’s purpose and features. A clear roadmap is essential for guiding the project.
- Design: User experience (UX) and user interface (UI) design focus on creating an intuitive and engaging layout. Wireframes and prototypes are developed to visualize the app’s flow and functionality.
- Development: This stage involves coding the app using suitable programming languages and frameworks. For native apps, technologies like Java for Android and Swift or Objective C for iOS are employed, ensuring high performance and seamless user experience.
- Testing: Rigorous testing is conducted to identify and fix bugs, ensuring that the app functions correctly across various devices and operating systems.
- Deployment: Once the app is tested and refined, it is launched on platforms like Google Play and the App Store, making it accessible to users.
- Maintenance: Post-launch, regular updates and maintenance are crucial to fix bugs, enhance features, and ensure compatibility with new OS versions.
By following these processes, businesses can create high-quality mobile applications that resonate with users. If you’re ready to transform your idea into a successful app, Get a free quote today!
Key Stages in Mobile App Development Lifecycle

The mobile app development lifecycle is a structured approach that consists of several key stages, each playing a vital role in delivering a successful application. Understanding these stages helps ensure that the development process is efficient and effective, ultimately leading to a high-quality product.
Here are the fundamental stages in the mobile app development lifecycle:
- Concept and Planning: This stage involves brainstorming and conceptualizing the app idea. Developers and stakeholders collaborate to define the app’s goals, target audience, and unique selling points. A detailed plan is created to outline the project scope and timelines.
- Design: The design phase focuses on the look and feel of the app. UX designers create wireframes and prototypes, ensuring the app is user-friendly and visually appealing. This step is crucial for mapping out user interactions and flow.
- Development: In this stage, developers write the code for the app. Depending on the platform, different programming languages and frameworks are utilized. This phase can be divided into front-end (what users interact with) and back-end (server-side) development.
- Testing: Comprehensive testing is essential to identify and rectify any issues before launch. Various testing methods, including functional, performance, and usability testing, ensure the app functions as intended and provides a good user experience.
- Deployment: Once testing is complete, the app is prepared for deployment. This involves submitting the app to app stores, along with necessary documentation and marketing materials. It’s crucial to follow each platform’s guidelines to ensure a smooth launch.
- Maintenance and Updates: Post-launch, continuous maintenance is required to address bugs, implement user feedback, and keep the app compatible with the latest device and operating system updates. Regular updates can enhance functionality and user engagement.
These stages are interdependent and contribute to the overall success of a mobile app. By carefully navigating each stage, developers can create applications that not only meet user needs but also stand out in a competitive market.
Technologies Used in Mobile Application Development

The landscape of mobile application development is continually evolving, with various technologies playing pivotal roles in the creation of robust and innovative apps. Understanding these technologies is crucial for developers, as they influence both the performance of the app and the overall user experience.
Here are some of the primary technologies used in mobile application development:
- Programming Languages: Different programming languages are employed based on the platform. For Android, Java and Kotlin are the primary languages, while for iOS, developers primarily use Objective-C and Swift. Each language has its strengths, with Swift being known for its modern syntax and safety features.
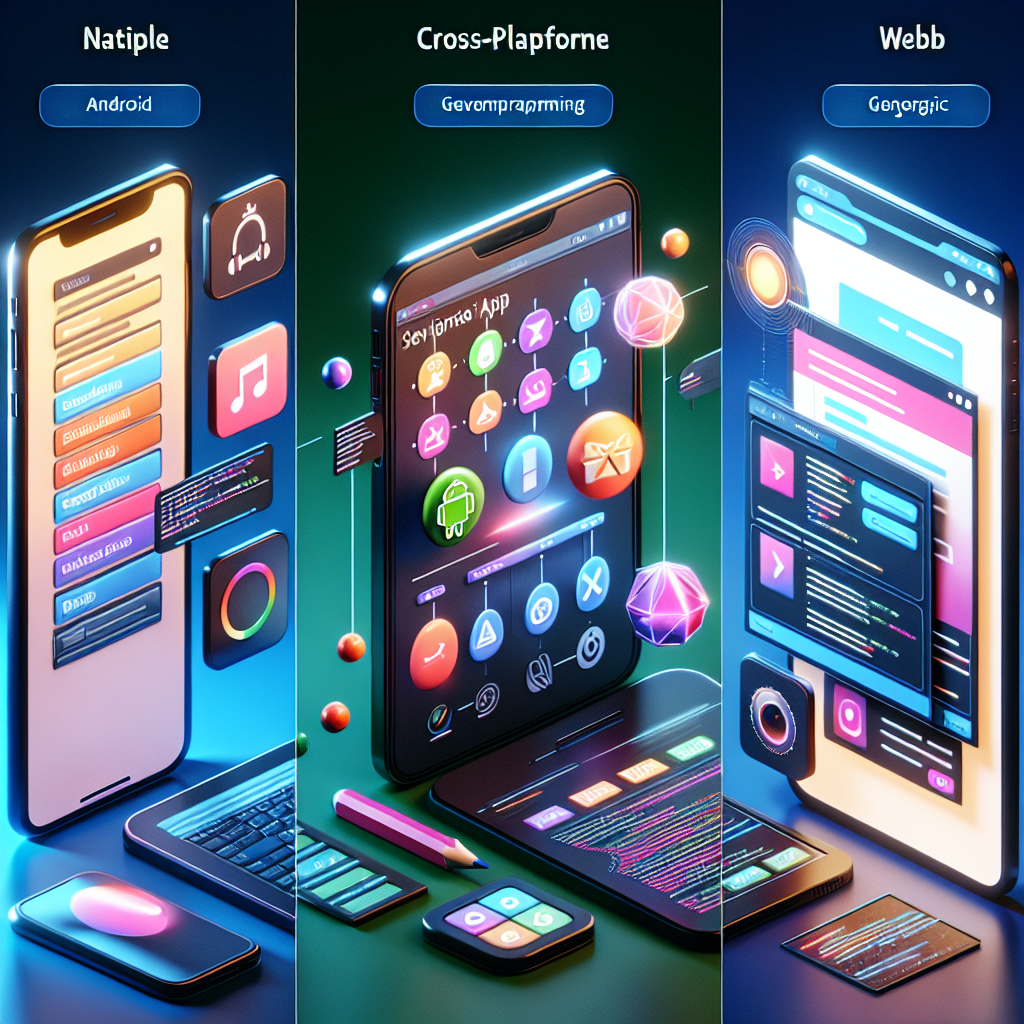
- Frameworks: Frameworks streamline the development process by providing pre-built components and tools. Popular frameworks include React Native for cross-platform development, allowing developers to write code once and deploy it on both Android and iOS. Flutter, developed by Google, is another powerful cross-platform toolkit that enhances performance and UI consistency.
- Back-end Technologies: The back-end is crucial for managing data, user authentication, and server-side logic. Technologies like Node.js, Ruby on Rails, and Python with Django are frequently used to build scalable and efficient back-end systems.
- Databases: Storing and retrieving data is essential for any app. SQL databases like MySQL and PostgreSQL are popular choices for structured data, while NoSQL options like MongoDB cater to unstructured data and provide flexibility.
- Cloud Services: Cloud services, such as AWS and Google Cloud, offer scalable infrastructure and services that can enhance app performance, improve security, and support user growth. They facilitate data storage, analytics, and machine learning capabilities.
By leveraging these technologies, developers can create mobile applications that are not only functional but also optimized for performance and user engagement. The right combination of tools and technologies can significantly impact the success of an app in today’s competitive marketplace.
Importance of User Experience in App Development
User experience (UX) plays a pivotal role in mobile application development, influencing how users perceive and interact with an app. A well-designed UX can significantly enhance user satisfaction, engagement, and retention, making it a critical aspect of the development process.
Here are several reasons why user experience is essential in app development:
- First Impressions Matter: Users often form opinions about an app within seconds of opening it. A clean, intuitive interface can captivate users, while poor design can lead to immediate abandonment. Ensuring a smooth onboarding process is crucial to keep users engaged from the start.
- Increased User Engagement: A focus on UX promotes user engagement by providing users with an enjoyable and efficient experience. Features like intuitive navigation, appealing visuals, and responsive design encourage users to explore the app further and utilize its features.
- Enhanced Usability: A well-thought-out UX ensures that the app is easy to use and accessible to a wide range of users. By minimizing complexity and emphasizing clarity, developers can create applications that cater to both tech-savvy users and those less familiar with technology.
- Higher Retention Rates: Apps with exceptional user experiences tend to retain users for longer periods. Satisfied users are more likely to return to the app, recommend it to others, and leave positive reviews, which can lead to organic growth and higher app rankings in app stores.
- Competitive Advantage: In a crowded marketplace, a superior user experience can differentiate an app from its competitors. By focusing on UX, developers can create unique features or streamline processes that attract users, leading to increased downloads and market share.
Ultimately, prioritizing user experience in mobile app development is not merely an option; it is a necessity for achieving long-term success. By placing the user at the center of the design process, developers can create applications that resonate with their audience and fulfill their needs effectively.
Best Practices for Successful Mobile App Development

Successful mobile app development requires a combination of strategic planning, technical expertise, and an understanding of user needs. By adhering to best practices, developers can enhance the quality of their applications and improve their chances of success in a competitive marketplace.
Here are some essential best practices for effective mobile app development:
- Define Clear Objectives: Before starting the development process, it is crucial to outline the app’s objectives and target audience. Understanding the purpose of the app will guide decision-making and feature selection, ensuring the final product meets user expectations.
- Focus on User-Centric Design: Prioritizing user experience through a user-centric design approach is vital. Conduct user research, create personas, and gather feedback during the design process to ensure that the app resonates with its intended audience.
- Utilize Agile Methodologies: Adopting agile methodologies allows for iterative development and regular feedback incorporation. This approach fosters collaboration among team members and keeps the project aligned with user requirements and market trends.
- Test Early and Often: Implementing a robust testing strategy throughout the development cycle is essential. Early testing helps identify and resolve issues before they escalate, ensuring a smoother launch and improved app performance.
- Optimize for Performance: A well-performing app is crucial for user satisfaction. Optimize loading times, minimize crashes, and ensure smooth navigation to enhance overall performance and keep users engaged.
- Plan for Updates and Maintenance: An app’s lifecycle doesn’t end at launch. Regular updates are necessary to fix bugs, introduce new features, and adapt to evolving user needs. Establishing a clear maintenance plan will help ensure the app remains relevant and functional over time.
By following these best practices, developers can create mobile applications that are not only functional but also engaging, leading to higher user satisfaction and retention rates. A commitment to continuous improvement and responsiveness to user feedback will position an app for long-term success in the ever-changing mobile landscape.
Future Trends in Mobile Application Development

The landscape of mobile application development is constantly evolving, driven by advancements in technology and shifting user expectations. As we look ahead, several key trends are anticipated to shape the future of mobile app development. Understanding these trends can help businesses and developers stay ahead of the curve and create innovative applications that meet the needs of tomorrow’s users.
Some of the most noteworthy future trends include:
- Increased Adoption of Artificial Intelligence (AI): AI technologies are set to play a significant role in enhancing user experiences through personalized recommendations, predictive analytics, and chatbots for improved customer service.
- Rise of Augmented Reality (AR) and Virtual Reality (VR): AR and VR technologies are becoming increasingly popular in mobile apps, particularly in sectors like gaming, retail, and education, providing immersive experiences that engage users in new ways.
- 5G Technology Implementation: With the rollout of 5G networks, mobile apps will benefit from faster speeds and lower latency, enabling richer content and more seamless user interactions.
- Increased Focus on Security: As cyber threats become more sophisticated, developers will prioritize robust security measures, including biometric authentication and end-to-end encryption, to protect user data and enhance trust.
- Integration of Internet of Things (IoT): The integration of IoT devices with mobile applications will allow for greater connectivity and functionality, enabling users to control smart devices directly from their apps.
- Cross-Platform Development: The demand for cross-platform apps that function seamlessly on both Android and iOS will continue to grow, encouraging the use of frameworks like React Native and Flutter.
Staying informed about these trends will be essential for developers and businesses aiming to create forward-thinking mobile applications. By embracing innovation and adapting to emerging technologies, they can ensure their apps remain competitive and relevant in an ever-changing market.
If you’re ready to take your mobile app ideas to the next level, get a free quote from NS804 today and let our expert team guide you through the development process!


